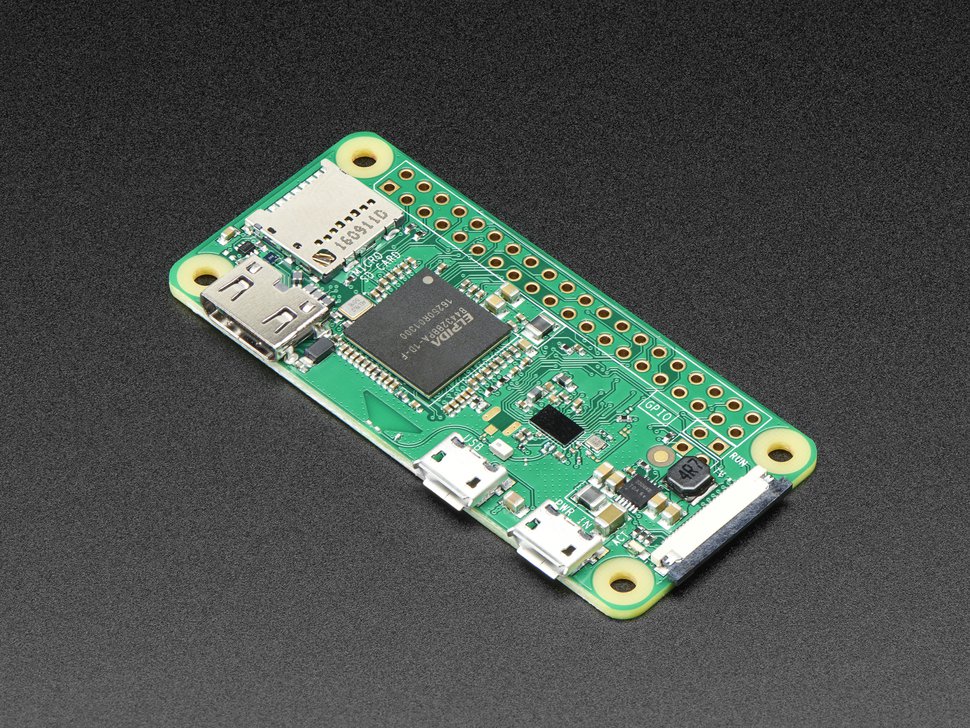
 After getting my Raspberry Pi Zero W I needed a project that would use it. Luckily, my Elks Lodge was looking for an image kiosk to advertise our upcoming community service events. Voila!
 After getting my Raspberry Pi Zero W I needed a project that would use it. Luckily, my Elks Lodge was looking for an image kiosk to advertise our upcoming community service events. Voila!
I found this Instructable by assasinsareus that laid out how to install feh and create an image kiosk.
Done and done, right? Well, I followed the instructions (thanks assasinsareus!!) and got everything working, but in my view it felt like I wasn't done. I wanted a way to control the images a bit better than ssh and ftp so I wrote a Slideshow Image app you can download.

There were a few more steps I needed to take in order to pull this off. First off, my ssh client didn't display the raspi-config correctly and I had to install VNCServer in order to get the user "pi" to log in automatically, using this command:
sudo apt-get install realvnc-vnc-serverNext, I installed Apache2 and enabled cgi-bin:
sudo apt-get install apache2Then, I installed PHP 7.0:
sudo apt-get install php7.0 php7.0-curl php7.0-gd php7.0-imap php7.0-json php7.0-mcrypt php7.0-mysql php7.0-opcache php7.0-xmlrpc libapache2-mod-php7.0After PHP installs, reboot the Pi.
As I mentioned, my terminal wasn't displaying correctly plus I am unfamiliar with nano, so I needed to change my default editor to vim:
sudo update-alternatives --set editor /usr/bin/vim.tinyWith the new editor I was able to use the command visudo to edit the /etc/sudoers file. I added this line:
www-data ALL = NOPASSWD: /sbin/shutdownto let me run the shutdown command using a web browser. Note that this is dangerous if you do not tightly control who has access to the system. Basically you are letting someone shutdown or reboot your Pi using only a web browser. I mitigated my exposure by using a .htaccess file.
Using the vncserver I connected to the desktop and chose the Preferences -> Raspberry Configuration menu option. There I was able to have user "pi" log in automatically. BTW, if you haven't done so yet, now is a great time to change the pi user's password.
With this link I learned how to automatically start feh when the user pi logs in. Since user pi now logs in automatically, this means I can have the slideshow start as soon as the system is booted.
Create a test php file by typing: echo "<?php phpinfo(); ?>" >> /var/www/html/test.php.
Launch it in a web browser by going to http://hostname/test.php (Replace "hostname" with the actual hostname of the system.)
If your PHP test script ran without issue and the slideshow starts when you boot your system, you are ready to untar the app. Create a directory /var/www/html/kiosk and copy the downloaded kiosk file into it. Then, use this command: tar -xvzf kiosk.tar.gz.
Change the permissions so www-data has write access to the images subdirectory, the feh* files in /bin/mods, and the autostart file in /home/pi/.config/autostart directory.
 feh.desktop autostart file
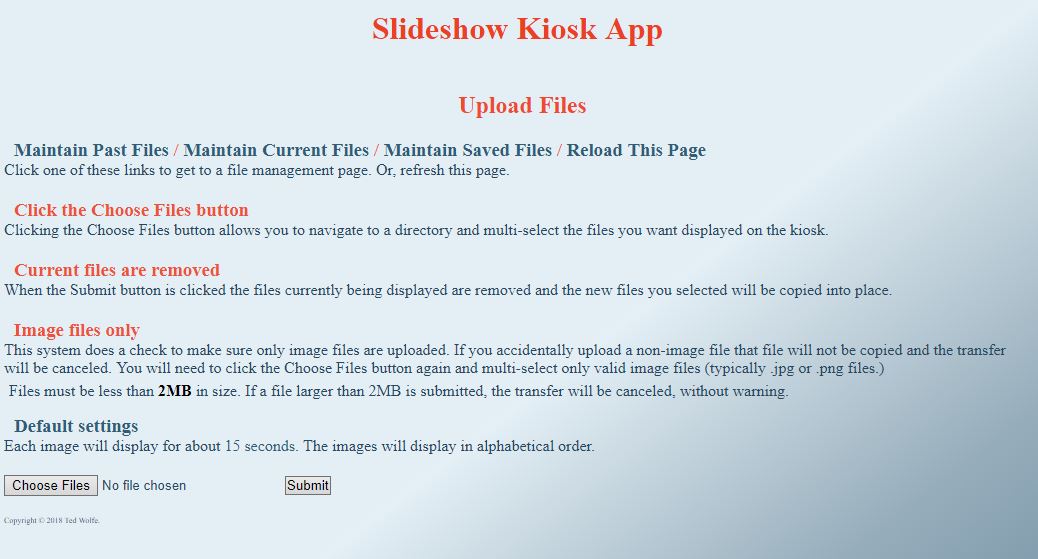
The first page you see has a Choose Files button and a Submit. Click Choose Files and select a .jpg or a .png file that is less than 2MB in size. After selecting files and clicking the Open button you'll see the status message next to the button has changed. Click the Submit button.
If the file has a mime type of "image" and is less than 2MB in size, you'll see a "File uploaded" message at the top of the page. Click the Reload This Page link to clear that message.

If you would like to display some of those older files, click the Maintain Past Files link. This page lets you Delete, Display, or Save any of the files listed.
When you want to display any of the files you have saved, click the Maintain Saved Files link. This page will let you Delete or Display any of the saved files.
Note that when you delete a file, it is not deleted off of the system. Instead it is moved to the /images/2delete folder. This means you will manually have to log in and delete those files yourself.
Back on the Upload Files page there are two other links.
Clicking the text Default Settings takes you to the page where you can reboot or shutdown the system using the cgi-bin scripts.
Under Default Settings, you'll see the text: Each image will display for about 15 seconds... That 15 will change depending on how long each image is set to display. Clicking the "15 seconds" will take you to a page where you can change that value. When you type in a value between 15 and 120 and click Submit, the system will automatically reboot to restart the slideshow with your new value.
Play around with it a little and let me know what you think.